Are you new to the beautiful world of mehndi? Whether you’re preparing for a festival or just want to learn the art, this step-by-step guide will help you get started with simple yet stunning designs. Grab your cone and let’s begin!
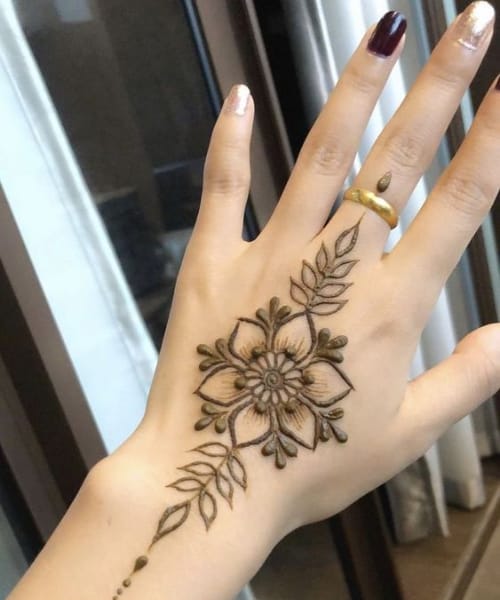
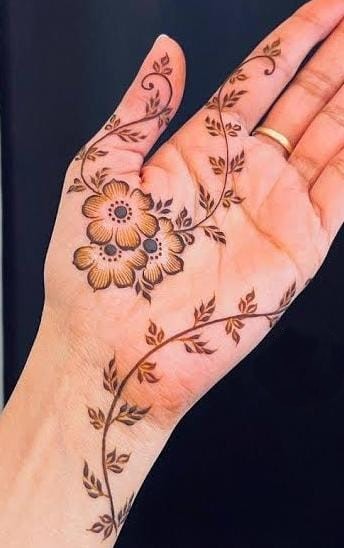
Design 1: Simple Floral Motif
Step 1: Draw a small circle at the center of your palm.
Step 2: Add five rounded petals around the circle.
Step 3: Enhance each petal with a tiny dot or teardrop shape at the tip.
Step 4: Add simple leaves beside the flower for extra style.
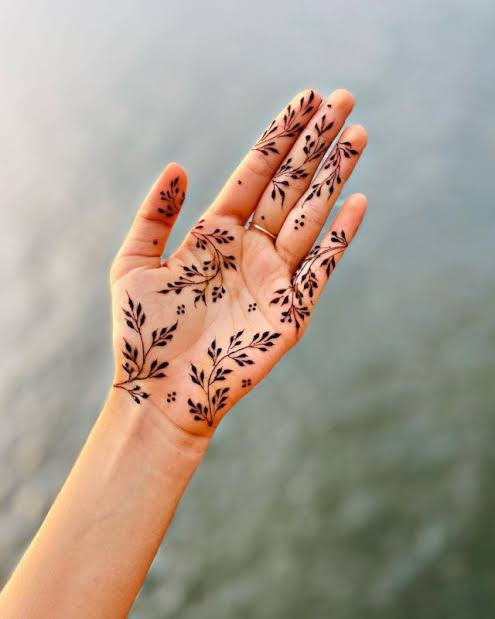
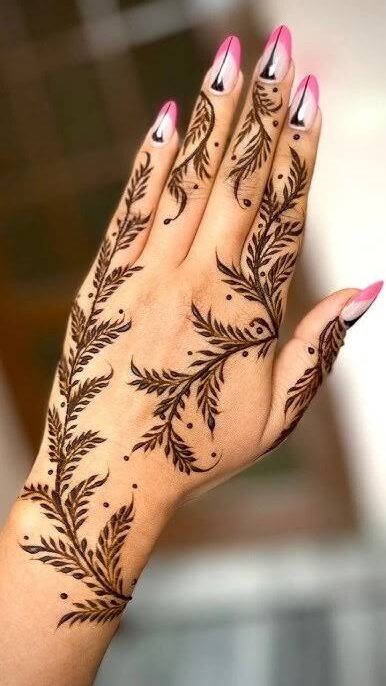
Design 2: Leafy Trail
Step 1: Begin a curved line from the base of your finger to the middle of your hand.
Step 2: On both sides, add small, pointed leaves like a vine.
Step 3: Intensify the vine by making the line slightly thicker and spacing the leaves evenly.
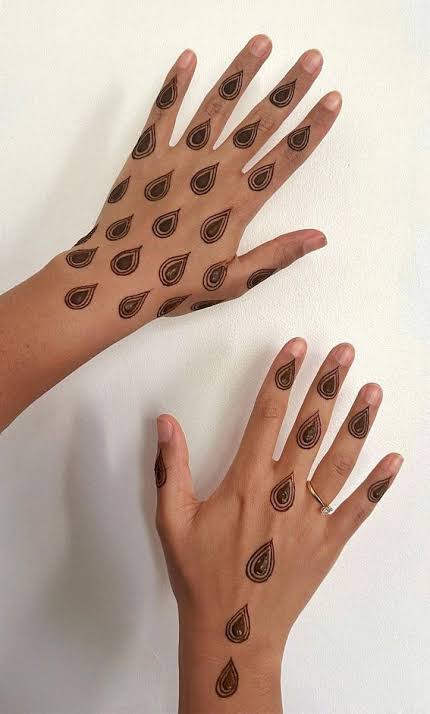
Design 3: Easy Paisley
Step 1: Draw a small “drop” or comma shape.
Step 2: Outline the drop to make it bolder.
Step 3: Fill the inside with dots or tiny lines for detailing.
Step 4: Add small swirls or dots around for more detail.

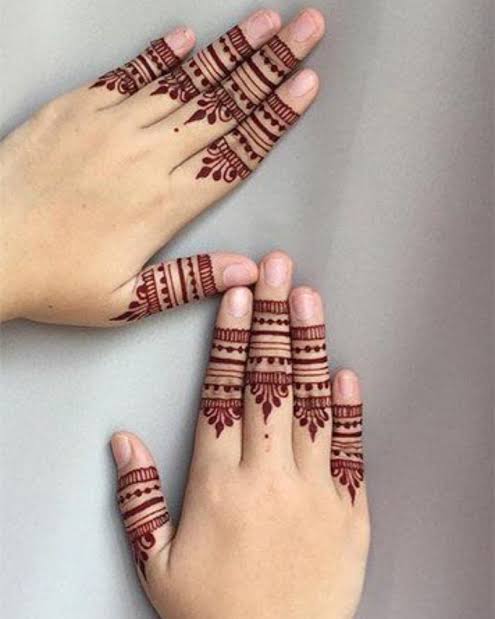
Design 4: Finger Stripes & Dots
Step 1: On each finger, draw two or three evenly spaced horizontal lines.
Step 2: Add dots between lines or above/below lines for a playful look.
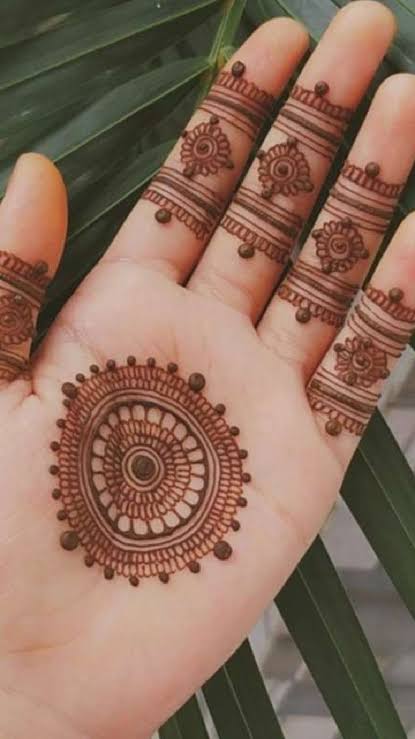
Design 5: Mandala Dot Circle
Step 1: Create a small dot in the center of your palm.
Step 2: Draw a circle around it.
Step 3: Add small dots along the edge of the circle, evenly spaced.
Step 4: You can add a second ring of dots or teardrop shapes for more intricacy.